I once picked up an old sketchbook of mine, just to see what I drew before.
My expression was just like this:
Holy moly! What was I thinking?
Those drawings are so bad that I cringe at the sight of them.
The characters are okay, but the delivery and techniques are in dire need of improvement.
It’s probably my standards today are different from years ago.
But! As I looked down at the signature and date (Yes, I signed my own doodles back then- don’t laugh)…
Those drawings are only from last year!
My brain stopped functioning for a moment.
But then I had an idea:
If I can reverse the process…
If I think back what I did to have such a boost in standard and skill in one year…
Then I can use the same methods to further improve my drawing skill!
So here we are- I have summarized the 25 effective and proven ways to better your drawing skill.
There are 3 parts, including general stuff, techniques, and mindset.
Without further ado, LET’S DIVE INTO IT!
Table of Contents
Part I: General
1. Learn with a Goal
It’s easy to search for any contents on the internet.
But there’re millions of results in front of you- which one should you choose?
Well, you have to answer yourself first: What do you want achieve?
You might be tempted by different artworks and styles. And then you want to say, “I want to be good at everything!”
But without a specific goal, you will go back and forth from places to places, while not having enough drive to master any one.
So how to set your perfect goal?
Ask yourself these questions. You can write/ draw down your answers if it helps you remember them better.
- If you have the perfect art skill to draw anything you want, what does your ideal artwork looks like?
- What is the purpose of your drawing? To tell a story, to express your feelings, or to design things?
- Is there an artist(s) that you often find yourself going back to? What does their artwork look like?
This one is optional. You can try this if you have been drawing for a while:
- Ignore any reference, rules, or guidelines. Simply let your hand flow and draw to your heart’s content.
What comes onto the canvas might the style you are most passionate about.
2. Practice, Practice, Practice!
Ah, the age-old advice: “Practice, and soon you’ll improve”.
You probably have seen a lot of different artists saying the same thing.
But it’s true.
To effectively improve your drawing skill, this mindset is a must-have.
Instead of treating it like a chore, embrace practicing! Imagine it as filling your room with draft papers, just like how they depict it in movies.
For example, instead of thinking that you have to “practice”, think that it’s your playtime!
3. Prepare a Sketchbook
All those scrap papers look a little messy, don’t they?
Why don’t you get yourself a pretty sketchbook?
You don’t need a fancy moleskine sketchbook, per se. But you can choose a sketchbook you like.
Treat it like a friend! Doesn’t mean you have to only draw “good drawings” in it. But just draw on it every day.
If you draw even half a page per day, you can quickly fill out the whole sketchbook in months!
Afterward, why don’t you give your friends a sketchbook tour?
(The above are Amazon affiliate links.)
4. Note Down Your Inspiration!
You inspiration, or eureka moments, don’t come on command.
They arrive in random moments- when you’re out on the streets, having lunch, working, showering…
If you let the inspiration sit in your head, very soon it will go away.
Our short-term memory is that inefficient…
But if you write it down- as quickly as possible- you can preserve it for later.
Imagine when you are having an artist block, just look at what you’ve written down!
5. Draw from Real Life
Sometimes, images can only give us so much information.
Images can’t tell you the whole movement of a person. And the camera lens distorts the image slightly (even when you don’t notice it).
It’s best to just look for the real thing.
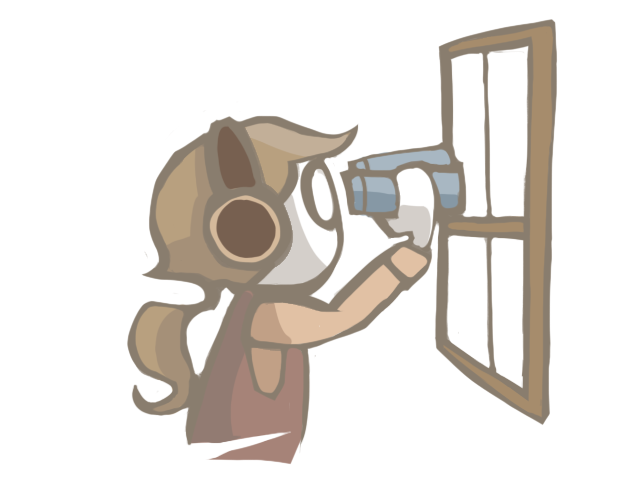
Try to sit in a local coffee shop, public transport, park, or anywhere you can see human-beings (or the things you can to draw).
Then just draw your heart out!
Real-life sketching is actually not as weird as you think. A lot of artists have that experience.
But still, you may feel nervous at first.
Try not to stare too long!
6. Get Critiques
The first thing I recommend is critique courses.
They are usually held by artists who have worked in the industry. So naturally, they will have a lot of constructive feedback to you.
But I’m on a tight budget! Is there a cheaper way to get critique?
Of course!
Critiques can come from anyone. Professional artists can give you insider information, if you’re serious about getting into the industry.
But your friends and family, even strangers on the internet, can give you insights you don’t know!
After all, you can only look at your artwork in the artist’s perspective. But what does the audience think? You just have to ask.
7. Train Your Creativity
You have probably heard of the age-old creativity exercise:
“Think of as many the ways to use a paper clip as possible!”
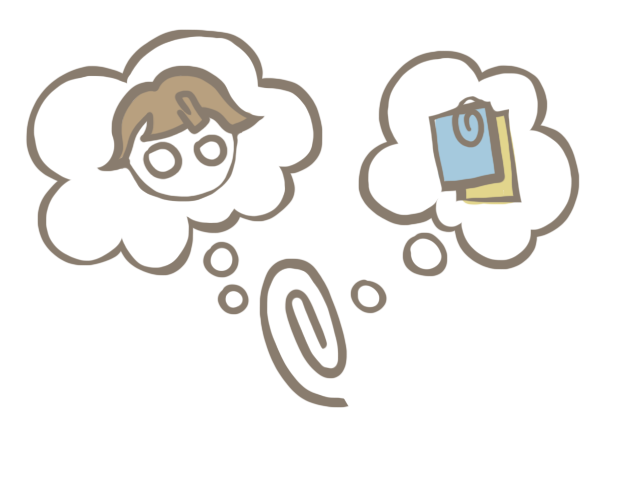
The tricky think about creativity is that you can’t measure it. You can’t even see it like your artwork.
How do you know you’re creative?
It shows through problem-solving.
For example, you want to draw an elephant. What do you do to make the elephant look awesome?
The character prompts generator from ArtPrompts is a fun way for artists to train their creativity.
I generated the “comically disproportionate bodybuilder“. Now just how do you design this character?
8. Join Art Challenges!
There are tons of these art challenges online.
Aside from Inktober and MerMay, there are new challenges coming up every month (I mostly participate in those promoted on Instagram).
So, are you up for the challenge?
Many of those challenges have 1 thing in common:
You post your artwork every day during the month.
What better excuse to practice drawings and get yourself out there?
If you break the streak in the middle of the month, don’t beat yourself over it. Carry on to the next day as if nothing happened.
A lot of artists don’t post all 30 days, either. The key is to be motivated to draw, instead of demotivated just because you can’t achieve 1 day or 2.
Part II: Techniques
9. Use Reference!
Reference is extremely important, if you want to improve your drawing skill.
Think of it as a guide to learn.
If you can’t draw a bike, you still can’t when you simply draw it again and again with no sense of direction.
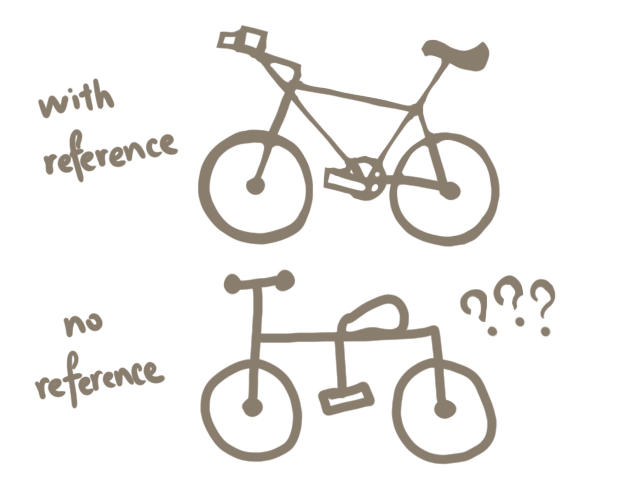
Even professional artists use reference. Why?
Because there are just so many things in the world. We can’t just master them all within a few years.
Metal textures… different kinds of trees… water reflection… machines… you name it.
And it’s unrealistic to try to remember those things and hope to get it right.
Why not just stick to the easy and fast way? Use reference!
10. Big Shapes First, Details Later
This technique to a great way to study an artwork, or plan your own.
Simply look at the big shapes.

The big shapes are what your audience first see. They don’t zoom in for the details before they look at the whole picture.
And that’s an information many beginner artists overlook.
If you dwell in the eyes and noses right at the beginning, you will the details gone immediately once you zoom back out.
I’m not saying the details aren’t necessary. But it’s best to know what the whole piece looks like.
11. Create Contrast
Contrast can mean many things, like sizes, colors, lighting…
A lack of contrast, on the other hand, can make your art confusing.
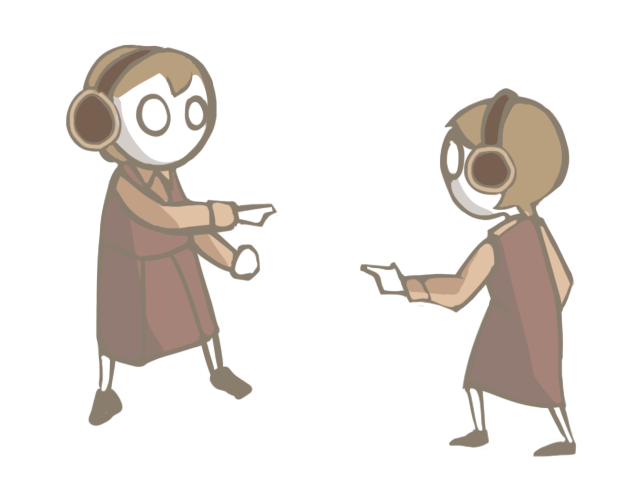
You can simply watch my video here, where you can see what I mean.
12. Use Dramatic Lighting
Dramatic lighting is super fun.
Other than the fact it give contrast, it’s very easy to apply.
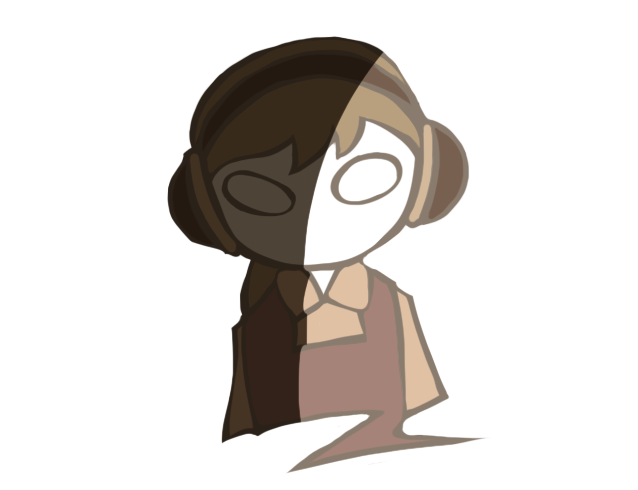
For me, I added an “overlay” layer in Photoshop, and drew the dark shadow over the character.
Be mindful of the forms and surface, though.
At the end, it gives a dramatic flare to your artwork. Depending on the mood you aim for, you can use different colors of shadows for this effect.
13. Look at Different Perspectives
It’s time for you to get creative with proportions and poses.

The more popular perspectives are “looking from above” and “look from below when the character is squatting”.
But come on, the actual list is endless.
For this area, I highly recommend you look for reference. This time, Pinterest is your best friend.
After all, there are a lot of different perspectives to look at a person. And you have to watch out for the pose too!
14. Use Guide Lines
Depending on what you want to draw, you can use different guide lines.
One of the most common lines are the cross- for drawing faces.
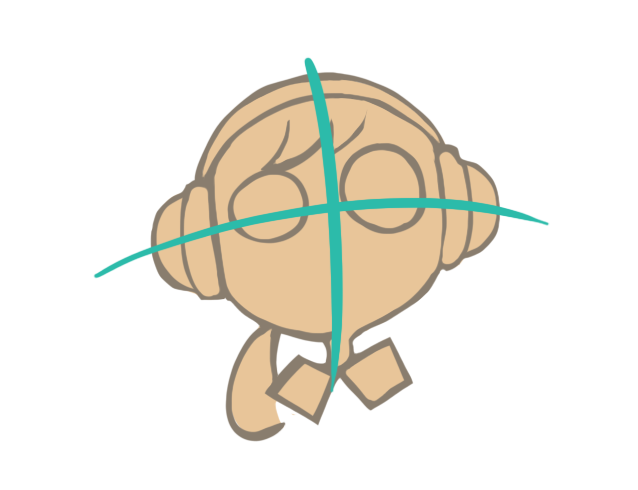
There are also lines for poses (stick figure), face proportion, hands and fingers…
The logic is the same as “drawing big shapes first”. You want to start with the simplest, most essential part before you move on.
For example, you decide on the angle of the eyes first, using the guide lines. Then you begin to draw the actual eyes.
15. Decide on a Color Scheme
Many people like seeing aesthetic images, nowadays.
Just look at Instagram, I mean.
To put it technically, you can decide on the 1) Primary color and the 2) Secondary color of your artwork.
Then, try to choose within these 2 color ranges.
Here’s an example:

Or you can simply watch this video of my drawing process.
The colors are shades of purple and pink, with occasional blue-green as the accent.
The opposite would look like a rainbow vomit.

16. Experiment with Different Styles
Drawing different styles is a good way to find which is suitable for you.
If you have already found your own art style, it’s still a good way to have fun and try new things.
One way to try this is the “Draw this in my style” and the “draw this in different styles” challenge on Instagram and art sites.
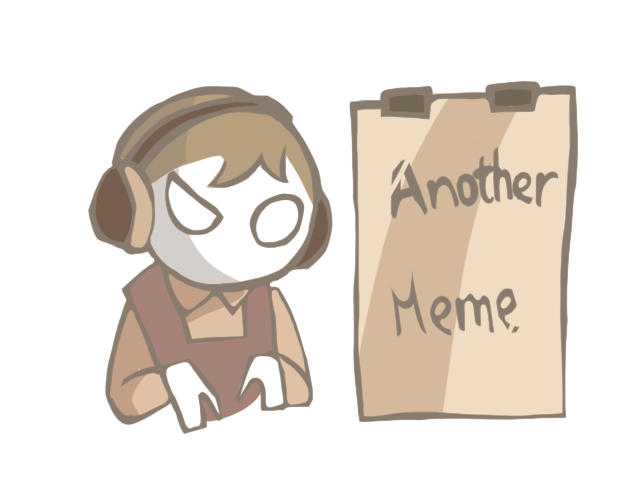
Artists take existing characters and draw them in as if they’re in different fiction worlds.
What a way to combine point no. 7, 8, and 16!
17. Practice Anatomy
You may think artists from cartoon animations don’t need to practice anatomy.
“I mean look at the characters! They’re so stylized that you can’t see any muscles/ bone structure!”
“That means anatomy is not that important, right?”
Well, no.
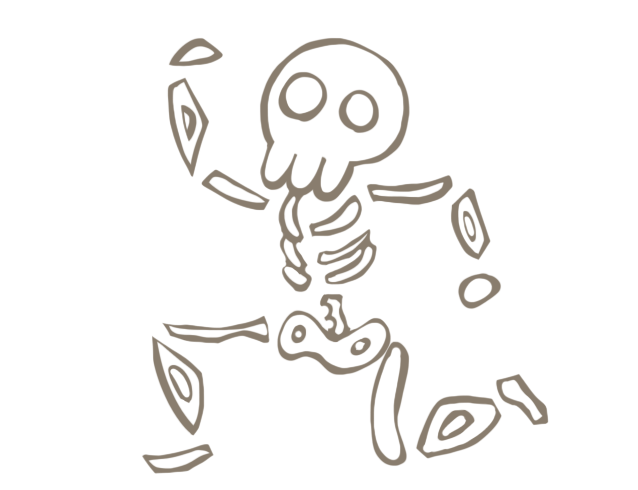
Even cartoon animators (especially animator, I’d say) have to practice drawing anatomy- so that they can understand the movement of the characters.
They draw such fluid gestures and poses, because they understand anatomy so much that drawing poses are like second nature to them.
If you’re not familiar with anatomy, I suggest you visit Proko.com or its YouTube channel, they have really good and easy-to-understand tutorials.
18. Imitate
You’ve probably heard of “steal like an artist“.
It’s a book by Austin Kleon, telling that truly original ideas don’t exist.
All ideas are built up by some previous ideas. So don’t feel bad about “imitating” your favorite artists.
J. K. Rowling also said similar things:
At first you’ll probably imitate your favourite writers, but that’s a good way to learn. After a while, you’ll find your own distinctive voice.
J.K. Rowling on www.jkrowling.com/
The same goes for drawing.
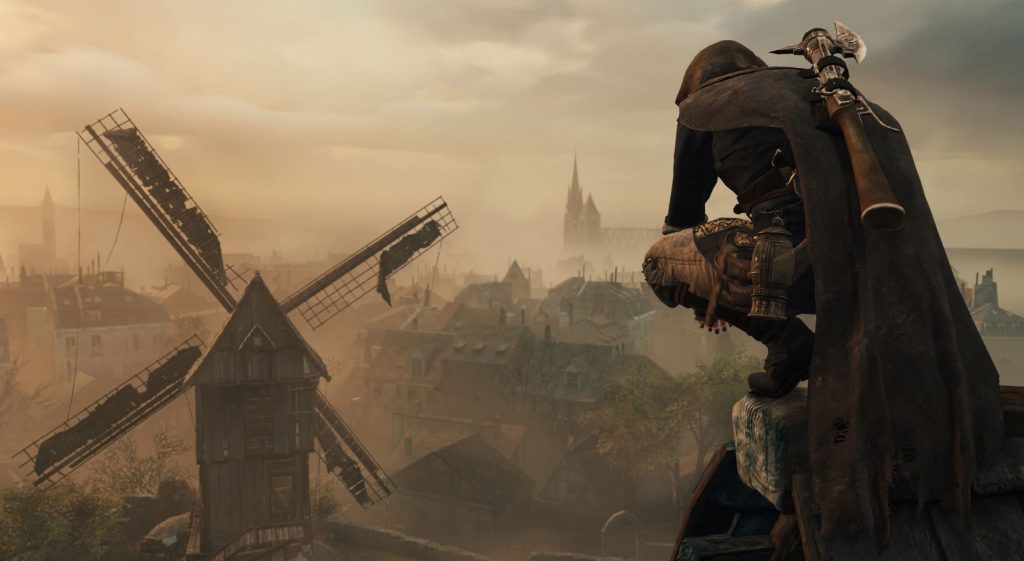
19. Try Movie/ Video Game Screenshots!
Most screenshots are famous for a reason. Unless they have high meme-value, many of them have really good elements we can learn from.

“Our eyeballs.”
Whether it’s their lighting, facial expression, and whatnot, you can steal something from them for your next artwork.
The reason I put “video game” here, is because video games nowadays have cinematic cut-scenes.
They are similar to live-action movies, and can add a tinge of fantasy too.
Part III: Mindset
20. Don’t Be Afraid of Failure
I shouldn’t call it “failure”. It sounds too much like an end.
I should say: Don’t be afraid if your artwork turns out not as you expected.
Or that people don’t respond as positively as you like.
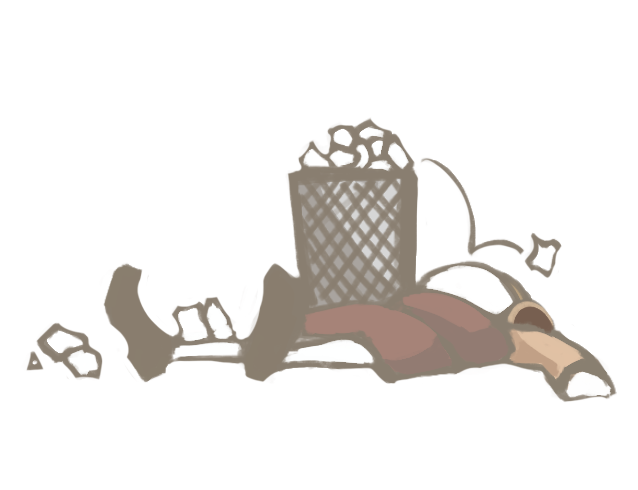
This kind of set-back is inevitable.
You hear that right. Inevitable. Even many successful artists can relate to this.
Instead letting it discourage you, try to think why your artwork turns out bad. (And don’t be afraid to call it bad drawing)
After know why it’s bad, you can work on how to get better next time.
21. Let Your Hand Flow!
I have taught some children drawing. And there’s a common mistake I notice.
Many beginner artists are not confident of their lines.
In order to “be careful”, they draw lines in chunks- like you see on the right below.

But the result is that the “broken lines” look nothing like lines. After the drafting stage, they can’t even see which line they should follow.
My advice is to let your whole arm move freely. It’s okay if a few lines don’t fall on the right spot.
22. Let Your Art Sit for 24 Hours
After finishing your artwork, don’t upload it yet.
Rest your mind and body. Leave the artwork for a day (or two).

That’s because your mind is still hooked on the details. But after the day of looking at something else, you will come back to it and see in a fresh light.
You will see some small things can be adjusted to make the artwork look even better.
If you finish the artwork and think “something is missing”, try to let it sit for a day too!
23. Avoid Comparing with Others
It’s easy to look at other artists’ beautiful galleries on Instagram, and feel insufficient about yourself.
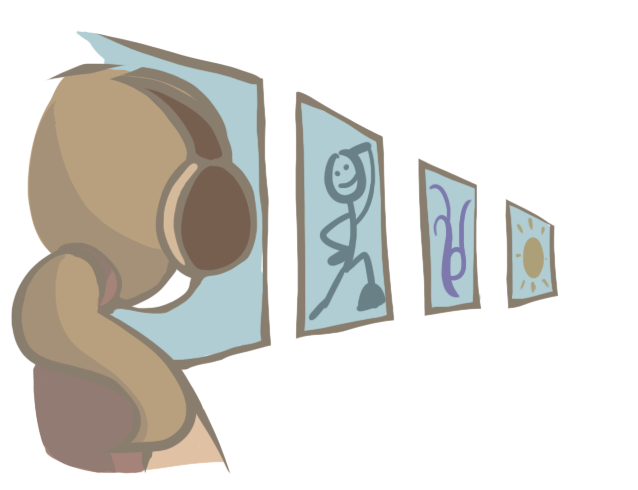
But comparing yourself with others like this can be counter-productive.
First off, you don’t know how many bad drawings other artists did- they don’t upload them.
Second, they probably have years of practice beforehand. And it’s unfair to undermine yourself.
Compare yourself to who you were yesterday, not to who someone else is today.
Dr. Jordan B. Peterson (12 Rules For Life)
24. Let Go of Perfectionism
Let’s be real here: Perfection don’t exist. Especially in art.
If you spend hours on end, trying to perfect your drawing. The result is either “you give up eventually“, or “your drawing becomes over-rendered that it’s worse than before“.
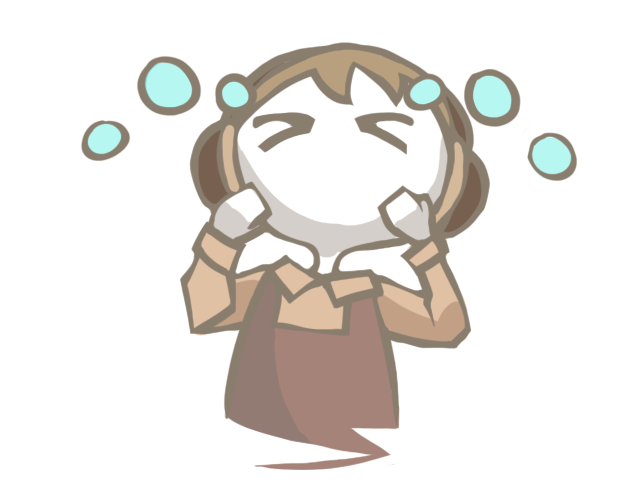
Perfectionism is as unproductive as procrastination.
To avoid that, simply understand that other artists’ artworks are not perfect either.
But it’s the imperfection that allows us room to improve more and more.
25. Be Happy About Drawing
After all, the reason you get into drawing is because you like drawing.

Whether you see drawing as a hobby, a passion, or a career path, the key to improvement is to be positive.
Aside from subjective happiness, a positive mind has many objective benefits too.
While a negative mind is prone to frustration, procrastination, and quitting, a positive mind is extremely helpful to remain focus, be creative, and learn.
Conclusion
So let’s take a step back and ask:
Why do you want to improve your drawing skill?
The 25 tips from above can help you effectively get closer to your goal. But without the goal, it’s easy to get stuck in an endless cycle of practice.
Do you want to draw a comic? An illustration? Or something else?
Comment below so we can have a conversation about what works best!
Want more art tips? Visit my YouTube channel where I show my drawing process from start to finish!

I want to be an illustrator. Doing awesome art for people with people enviorment etc. So I need learn everything lol but is difficult if you have chronic depresion, adhd and autism.
🙂 kinda work for me! But is it for digital or traditional?
I’m more of a digital artist. But many figure practices, sketching, and even drafts for digital artwork are done with paper and pencil!